This post may contain affiliate links. Read the full disclosure here.
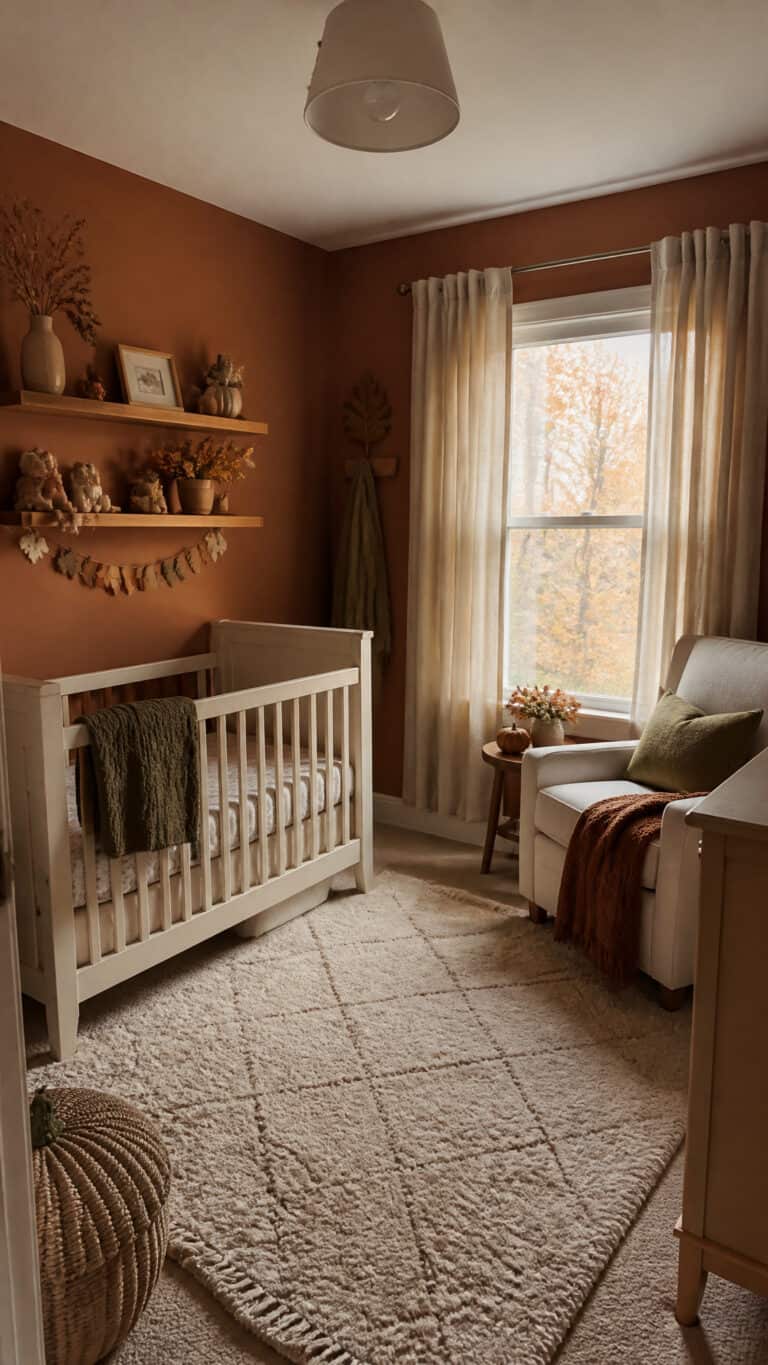
Fall is absolutely my favorite season to decorate, and there’s something extra special about bringing those cozy autumn vibes into my boys’ bedrooms! As a mom of three energetic little guys, I’ve learned that decorating their spaces doesn’t have to break the bank or require hours of complicated crafting.
The best part?
Many of these projects can be done WITH your kids, turning decoration time into quality bonding moments that create memories just as beautiful as the finished products!
I’ve put together nine of my favorite DIY fall decor for bedroom for kids that are budget-friendly, simple to create, and absolutely adorable. Whether you’re working with a toddler’s nursery or an elementary schooler’s room, these ideas will help you transform their space into a warm, inviting autumn haven without spending a fortune. Let’s dive into these fun projects that’ll have your kids’ rooms looking festive and feeling extra cozy all season long!
Paper Leaf Garland Magic
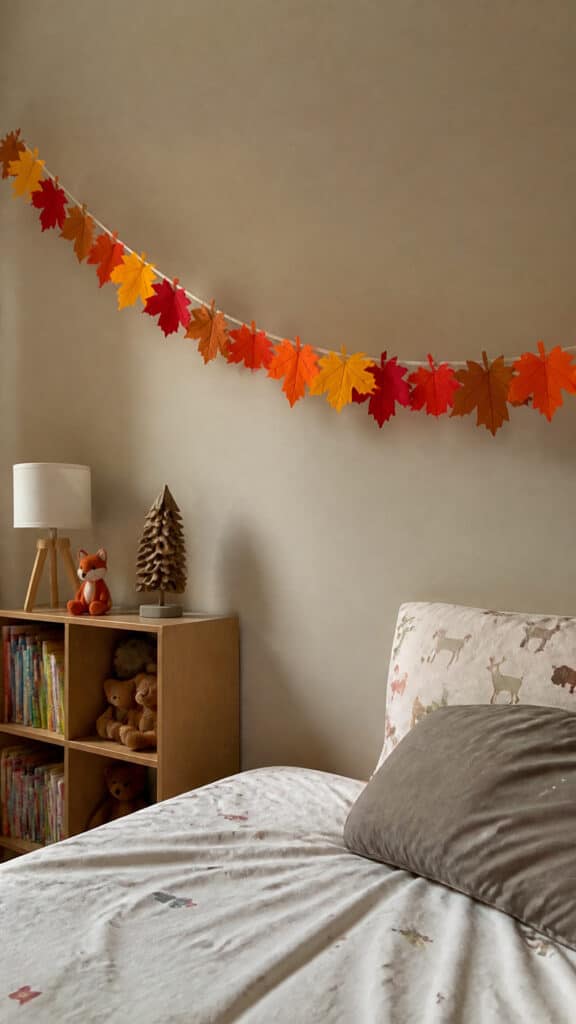
This has to be one of the easiest and most impactful DIY fall decor for bedroom for kids projects I’ve ever done! All you need is construction paper in fall colors (orange, red, yellow, and brown), scissors, and some twine or string. I let my boys help trace leaf shapes using cookie cutters or templates we found online, and they absolutely loved cutting them out – okay, I did help my youngest quite a bit with the scissors!
Once you have a pile of colorful paper leaves, simply punch a small hole near the stem of each leaf and thread them onto your twine. I like to space them about three to four inches apart for the best visual effect. The beauty of this garland is that you can drape it across windows, above the bed, around door frames, or even create a canopy effect from the ceiling! My middle son requested we hang his diagonally across his wall, and it looks amazing!
The best part about this project is that it costs practically nothing if you already have construction paper at home, and it takes less than an hour to complete. Plus, the kids can help decorate their leaves with glitter, markers, or even paint before you string them up. We made three different garlands for all three boys’ rooms in one afternoon, and they’re still hanging proudly weeks later! You can also save these and reuse them year after year if you laminate the leaves or use cardstock instead of regular construction paper.
Painted Pumpkin Jars
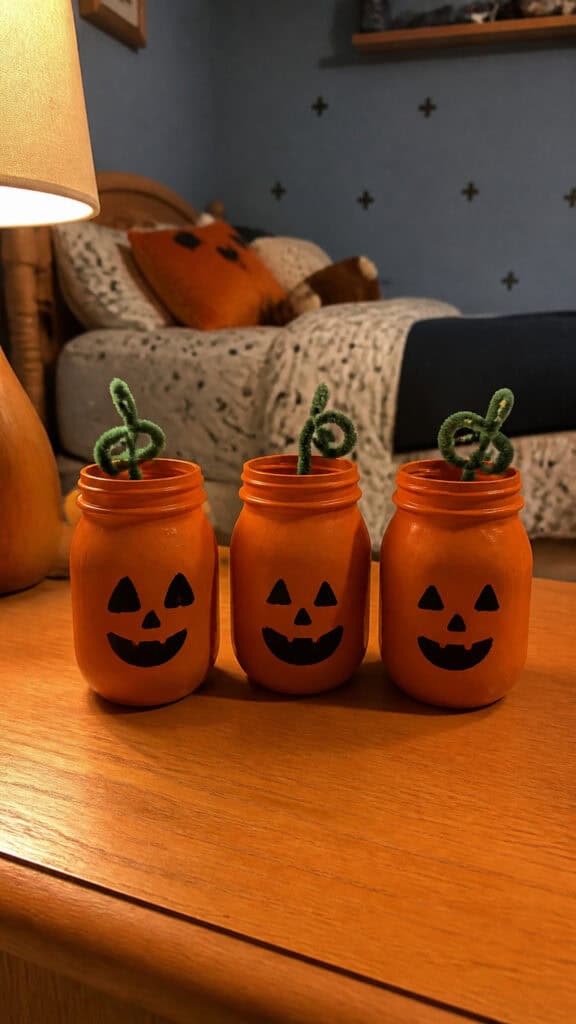
Mason jars are my absolute go-to for budget crafts, and turning them into adorable pumpkin containers is such a fun fall project! I picked up a pack of small mason jars at the dollar store for just a few bucks, and we transformed them into the cutest little pumpkin decorations. All you need is orange acrylic paint, green pipe cleaners or ribbon for the stem, and maybe some brown paint for detailing.
Have your kids help paint the outside of the jars with two coats of orange paint – yes, it’ll get messy, but that’s half the fun! Once they’re dry, you can add vertical lines with a brown marker or paint to give them that pumpkin segment look. For the stem, I twisted green pipe cleaners around the jar opening, or you can hot glue a small stick painted green to the lid. My boys wanted to add faces to theirs, so we used black permanent markers to draw jack-o’-lantern faces, and they turned out so cute!
These little pumpkin jars are incredibly versatile for bedroom decor. We use them as pencil holders on the boys’ desks, as nightlights with battery-operated tea lights inside, or even as treat jars filled with small candies or erasers. They add such a cheerful pop of fall color to any surface! You could also fill them with fall potpourri, small fake flowers, or use them to organize small toys. The possibilities are endless, and they cost less than five dollars total to make!
Felt Acorn Garland
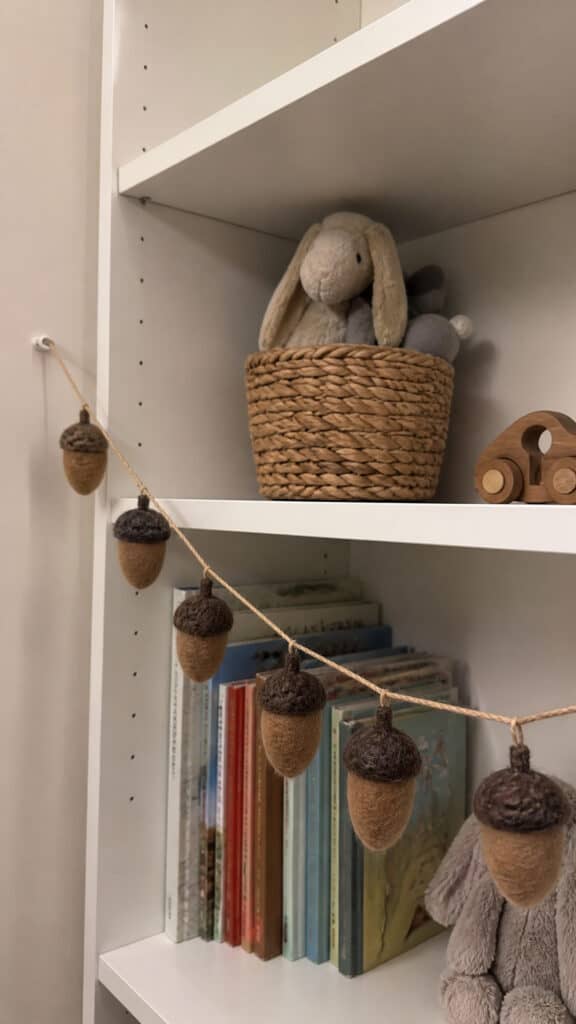
If you’re looking for adorable DIY fall decor for bedroom for kids that’s soft and safe even for the littlest hands, this felt acorn garland is perfect! I found felt sheets at the craft store for less than fifty cents each, and you only need brown and tan colors for this project. The acorns turn out so cute and three-dimensional, and they’re surprisingly easy to make once you get the hang of it!
To create each acorn, cut an oval shape from tan felt for the body and a rounded cap shape from brown felt. I used a simple template I drew freehand – they don’t have to be perfect, which is great for those of us who aren’t exactly artists! Then, use hot glue to attach the brown cap to the top of the tan body, and add a small loop of brown thread or embroidery floss to the top for hanging. My boys loved stuffing each acorn with a tiny bit of cotton or fiberfill before sealing them to make them puffy and dimensional!
String your finished acorns onto twine or ribbon, spacing them evenly, and you’ve got yourself the sweetest little garland! We hung ours across my youngest’s bookshelf, and it adds such a cozy woodland feel to his room. You could also attach them to a branch you’ve collected from outside to create a hanging mobile, or scatter individual acorns across a dresser top or windowsill. This project took us about an hour and cost less than three dollars – talk about budget-friendly!
Toilet Paper Roll Owls
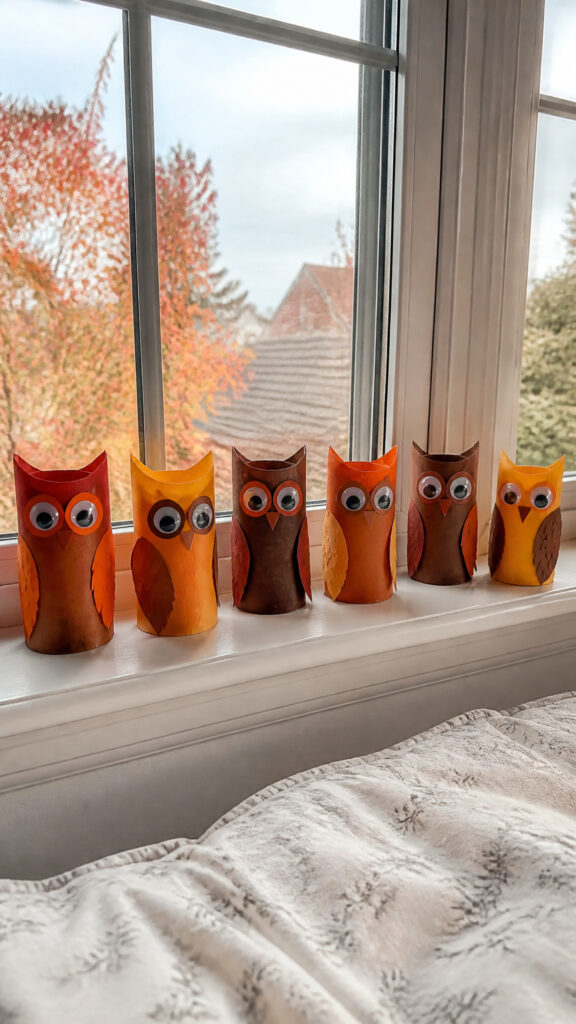
Don’t throw away those empty toilet paper rolls! They’re perfect for creating the most adorable fall owl decorations that my boys absolutely went crazy for. This is one of those DIY fall decor for bedroom for kids projects that turns trash into treasure, and kids genuinely love making these little creatures. You’ll need empty toilet paper rolls, construction paper or paint, googly eyes, and some craft glue – all things I already had in our craft bin!
To make each owl, fold down the top edges of the toilet paper roll to create ear tufts, then paint or wrap the roll in fall-colored paper like orange, brown, or yellow. Once dry, glue on googly eyes (the bigger the better – my kids love the jumbo ones!), add a small triangle of orange paper for the beak, and cut out wing shapes from construction paper to glue on the sides. We also added little felt or paper feet at the bottom, though that’s totally optional!
These little owls are so versatile! We lined them up on the windowsill in my oldest son’s room, and they look like they’re perching and watching over everything. You could also use them as pencil holders on a desk, or string them together to make a garland. My middle son wanted to hide his around the room like little owl friends, which has been adorable! The whole project costs absolutely nothing if you use materials you already have, and it’s a great rainy afternoon activity that results in cute bedroom decorations.
Fall Leaf Window Clings
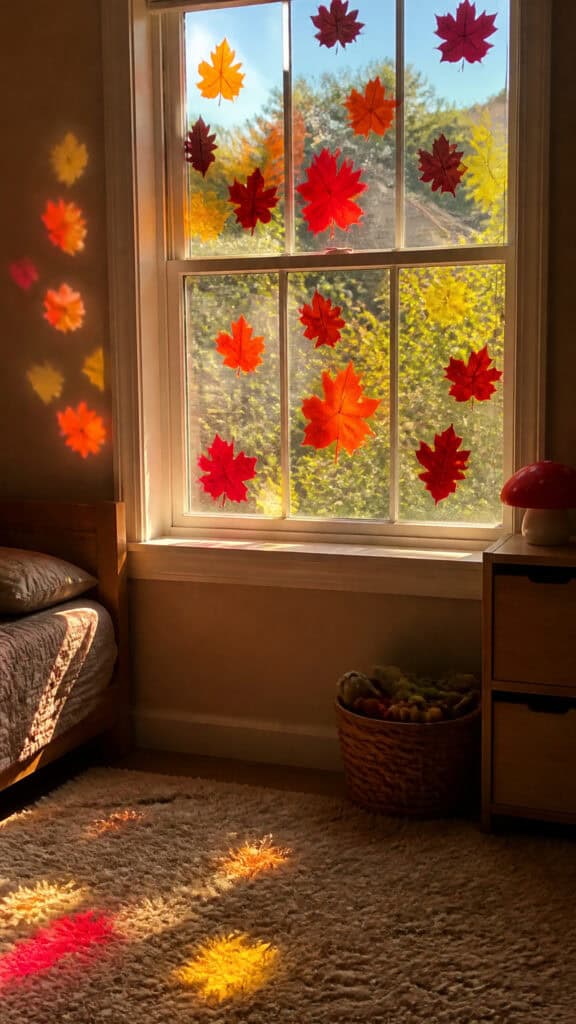
This project brings the beauty of fall foliage right to your kids’ bedroom windows, and it’s so easy that even my youngest could participate! Window clings are simple to make with just glue and food coloring, and they create the prettiest stained glass effect when the light shines through. Plus, they’re completely removable and reusable, which makes them perfect for rental homes or if you like to change decorations frequently!
To make these, you’ll need clear school glue, food coloring in fall colors (red, yellow, orange), and plastic page protectors or a plastic sheet. First, draw or print out leaf templates and slip them inside the page protector. Then, trace the outline of each leaf with glue directly on the plastic, and fill in the center with glue mixed with food coloring. My boys loved mixing the colors to create different shades of orange and red! Let them dry completely – this takes about 24 hours – and then carefully peel them off the plastic.
Once they’re dry, these DIY fall decor for bedroom for kids can be pressed onto any window or mirror surface, and they’ll stick without any additional adhesive! We covered my boys’ bedroom windows with leaves in all different colors and sizes, and when the afternoon sun comes through, it creates the most beautiful warm glow in their rooms. They’ve been up for weeks and haven’t fallen off once! If they lose their stickiness, just rinse them with water and they’re good as new. This project cost me less than two dollars and provided hours of entertainment!
Pinecone Hedgehogs
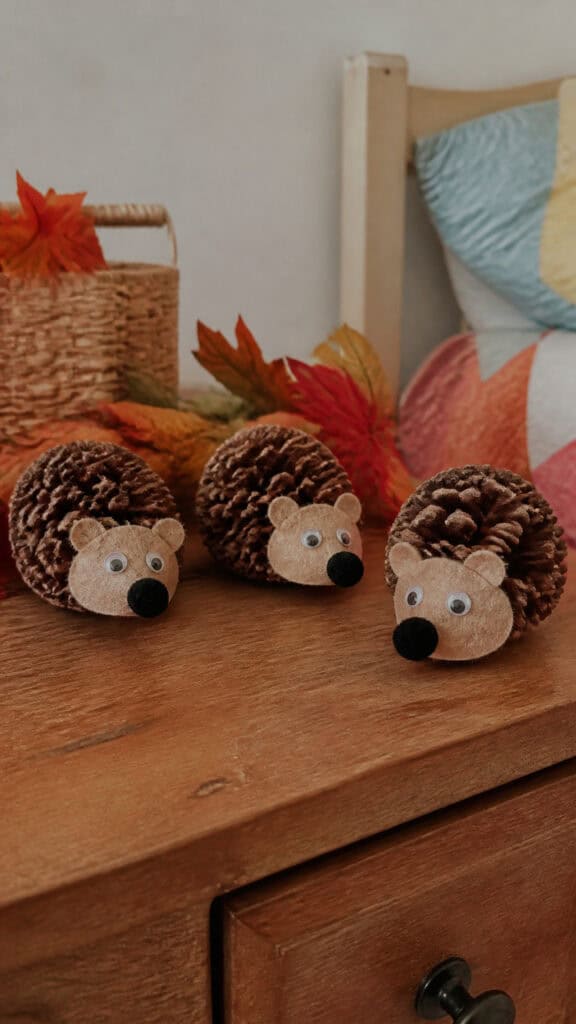
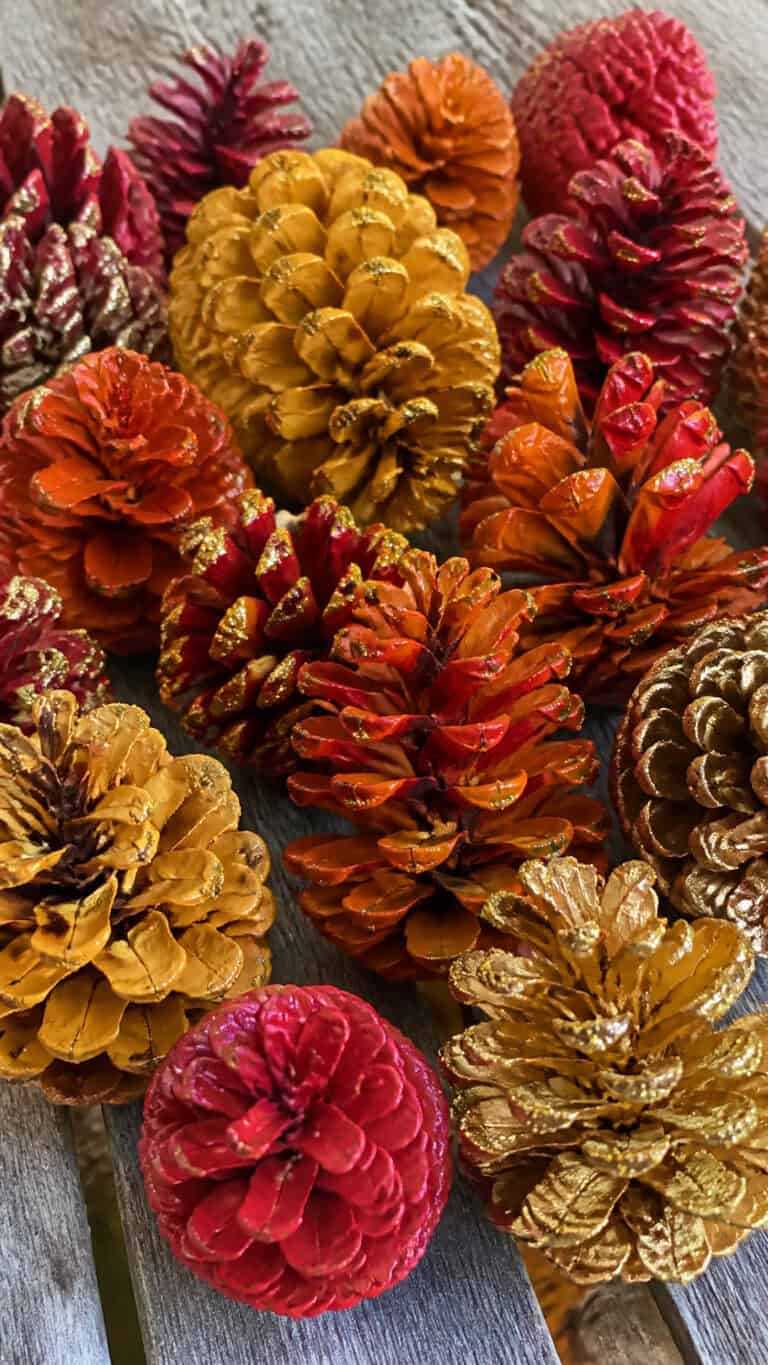
After a nature walk where we collected way too many pinecones, I knew we needed to find a cute way to use them as bedroom decor! These pinecone hedgehogs are absolutely precious and so simple to make. All you need are pinecones (which are free if you collect them yourself!), tan or brown felt or craft foam, googly eyes, a small black pom-pom or bead for the nose, and hot glue. My boys thought these were the cutest things ever!
To create each hedgehog, cut a rounded triangle shape from felt for the face, making sure it’s sized to fit the front opening of your pinecone. Glue this felt piece to the front of the pinecone, then add two small googly eyes and a tiny black pom-pom or bead for the nose. That’s literally it! You can also add small felt feet at the bottom if you want them to stand up better. We made about a dozen of these in different sizes using the various pinecones we’d collected!
These little hedgehog friends are perfect for displaying on bookshelves, dressers, or windowsills in your kids’ rooms. We created a whole hedgehog family for each of my boys’ rooms, and they’ve named every single one! You could also hot glue a small loop of ribbon to the top and hang them as ornaments. This is definitely one of my favorite budget-friendly projects because pinecones are free, and the other supplies cost just a couple of dollars. Plus, it’s a great way to bring a bit of nature indoors and teach kids about fall wildlife!
Fabric Scrap Bunting
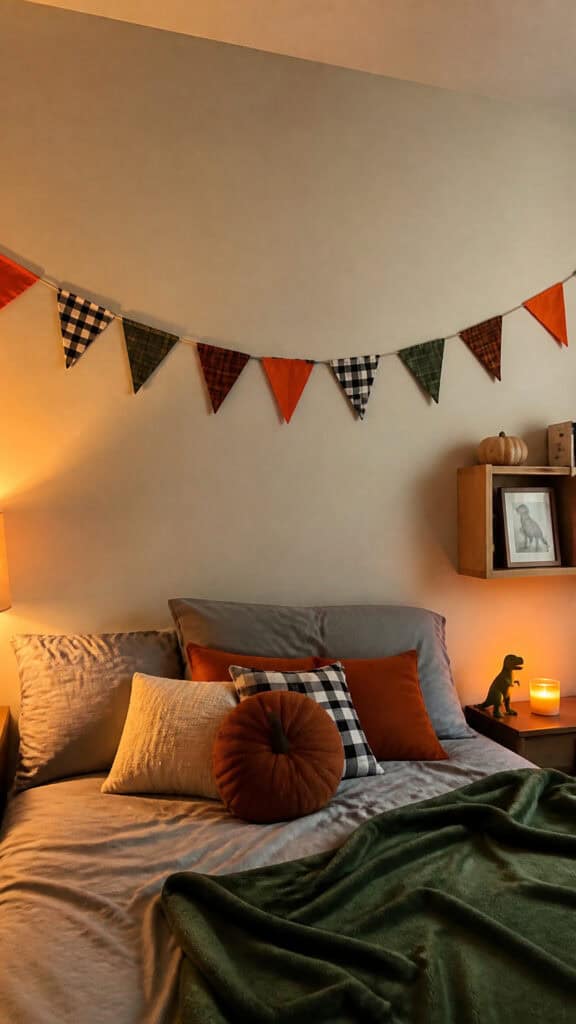
I always have scraps of fabric lying around from various projects, and fall is the perfect time to turn them into cozy bunting for the boys’ rooms! This DIY fall decor for bedroom for kids is so forgiving because you can use absolutely any fabric you have on hand – old flannel shirts, fabric scraps from other projects, or even inexpensive fabric quarters from the craft store. The mix-and-match look is actually what makes it so charming!
To create the bunting, cut your fabric into triangle shapes – they don’t have to be perfectly uniform, which is great for those of us who aren’t expert sewers! I aim for triangles that are about six inches wide at the top and seven inches tall, but honestly, just eyeball it. Look for fabrics in fall colors and patterns like plaid, gingham, orange solids, brown checks, or anything with leaves or pumpkins. Then, fold the top edge of each triangle over a length of twine or ribbon and either glue or sew it in place. I use fabric glue because it’s faster and I’m not the best with a sewing machine!
This bunting adds such a cozy, homey feel to any kids’ bedroom! We hung some above each of my boys’ beds, and it instantly made their rooms feel more festive and warm. You could also drape it across a bookshelf, around a mirror, or along the wall. The best part is that this project costs practically nothing if you use fabric scraps you already have, and it takes less than an hour to put together. My boys love that each of their bunting banners is unique and different from their brothers’!
Painted Stick Tree Branch Display
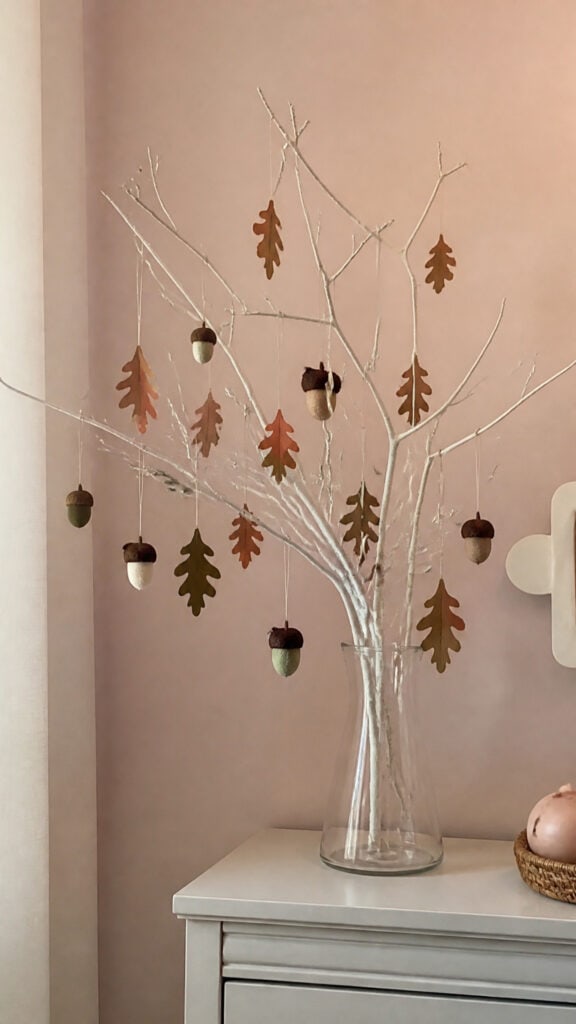
This project is one of my favorites because it combines a nature walk with crafting and creates such a beautiful focal point for fall bedroom decor! On one of our outdoor adventures, we collected several interesting branches and sticks – look for ones with multiple smaller branches coming off them, as they work best for displaying decorations. This is completely free and gives you a gorgeous base for showcasing other fall DIY projects!
Once you’ve found your perfect branch, give it a good cleaning and let it dry completely. Then comes the fun part – you can leave it natural for a rustic look, or let your kids paint it! We’ve done white branches, gold branches, and even orange branches for different rooms. Spray paint works fastest, but acorn paint and brushes work great too if you want the kids more involved. Once it’s dry, secure it in a vase, jar, or pot using rocks, sand, or floral foam to hold it steady.
Now you have the perfect display for hanging all sorts of DIY fall decor for bedroom for kids! We hang our felt acorns from it, attach paper leaves, add small ornaments, or even clip on family photos with mini clothespins. My oldest son’s branch has become a rotating display where he hangs his latest art projects and treasures he finds outside. You can also wrap string lights around it for a magical nighttime glow! This project costs absolutely nothing except possibly the paint, and it creates such a statement piece that looks way more expensive than it actually is. We change out what’s hanging on the branches throughout the season to keep things fresh!
Handprint Fall Tree Canvas
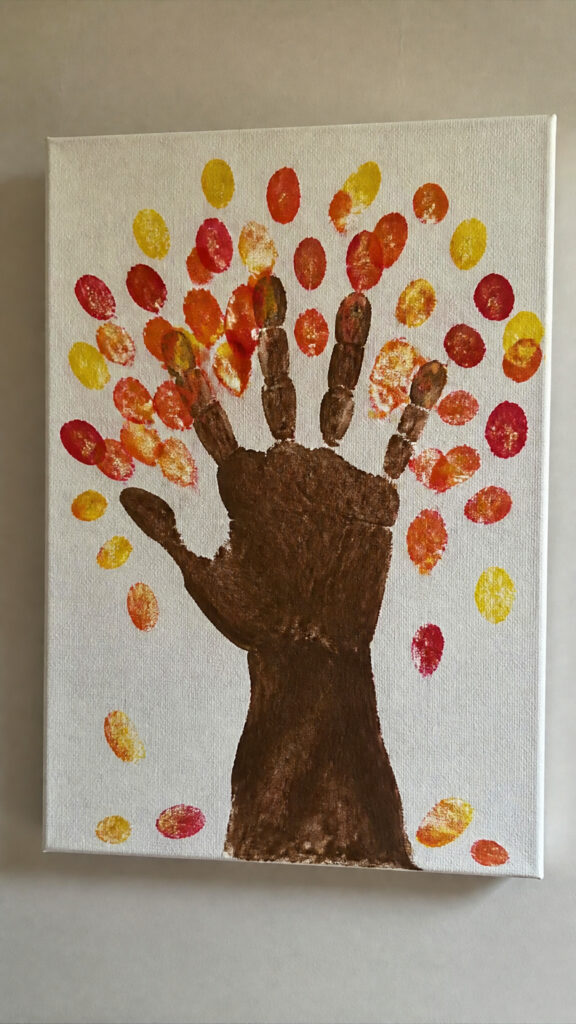
This is probably the most sentimental of all the projects on this list, and it’s one that your kids will love looking back on as they grow! Creating a handprint fall tree is such a sweet way to capture how little their hands are right now while making beautiful DIY fall decor for bedroom for kids. All you need is a canvas (I get mine from the dollar store!), brown paint, fall-colored paints (red, orange, yellow), and your kids’ willing hands!
Start by painting your child’s arm and hand with brown paint and pressing it onto the canvas to create the tree trunk and branches – the arm is the trunk and the fingers become the branches. Let that dry completely. Then, have your kids dip their fingertips in fall-colored paints and press them all around the branches to create colorful fall leaves! My boys loved mixing the colors and filling in the whole tree with their fingerprints. You can also add a few falling leaves at the bottom by making fingerprints below the tree.
Once it’s dry, I like to write the child’s name and date on the back or bottom of the canvas so we remember when we made it. These handprint trees look absolutely adorable hanging on bedroom walls, and they’re such a special keepsake! We’ve made one for each of my boys over the years, and it’s amazing to see how much their hands have grown. This project costs less than five dollars if you get your canvas from the dollar store, and it creates both a decoration and a memory. You could even make this a yearly tradition and create a collection showing how your kids grow!
Bringing It All Together
There you have it – nine absolutely adorable and budget-friendly ways to bring fall magic into your kids’ bedrooms! The best thing about these DIY fall decor for bedroom for kids projects is that they’re not just about the finished decorations. They’re about the memories you create while making them, the giggles and paint-covered fingers, and the pride your little ones feel when they see their creations displayed in their special spaces. My boys still point out their handprint trees and tell me about making their pinecone hedgehogs weeks after we finished them!
Remember, decorating doesn’t have to be expensive or perfect to be beautiful and meaningful! Some of my favorite pieces in my boys’ rooms are the slightly crooked paper leaves and the owls with googly eyes that aren’t quite straight. Those imperfections make them special and uniquely ours. So grab some supplies, gather your kids, and start creating your own cozy fall bedroom wonderland! Your little ones will love having a hand in decorating their own spaces, and you’ll love that you did it all without breaking the bank. Happy fall decorating, mama!